Products
Metrology Systems
Metrology solutions purpose-built for optics fabrication, from volume production to one-off optics
How It Works
AOM is a vertically integrated optical metrology company with products and services that can be combined to produce the test systems your project or program demands.
We offer unique products, including CGH nulls, that enable precise measurement of complex optical surface shapes and subsystems. Additionally, we can provide comprehensive alignment strategies, precision optomechanics, and unparalleled engineering services.
Test systems from AOM are purpose-built for your optical fabrication and measurement challenges. Connect with us to learn how we take the metrology engineering burden off your shoulders, so your teams can focus on what they do best.
We are Your Optical Metrology Partner.

Metrology System Configuration
A complete spectrum of support – from individual components for do-it-yourself test setups to full metrology solutions for production-ready turnkey systems.
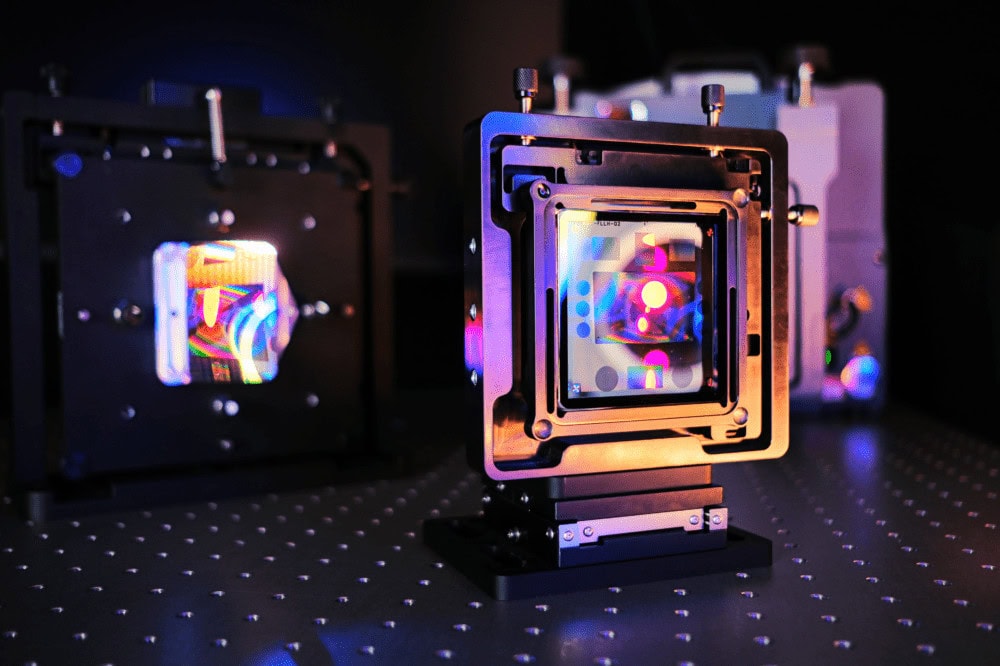
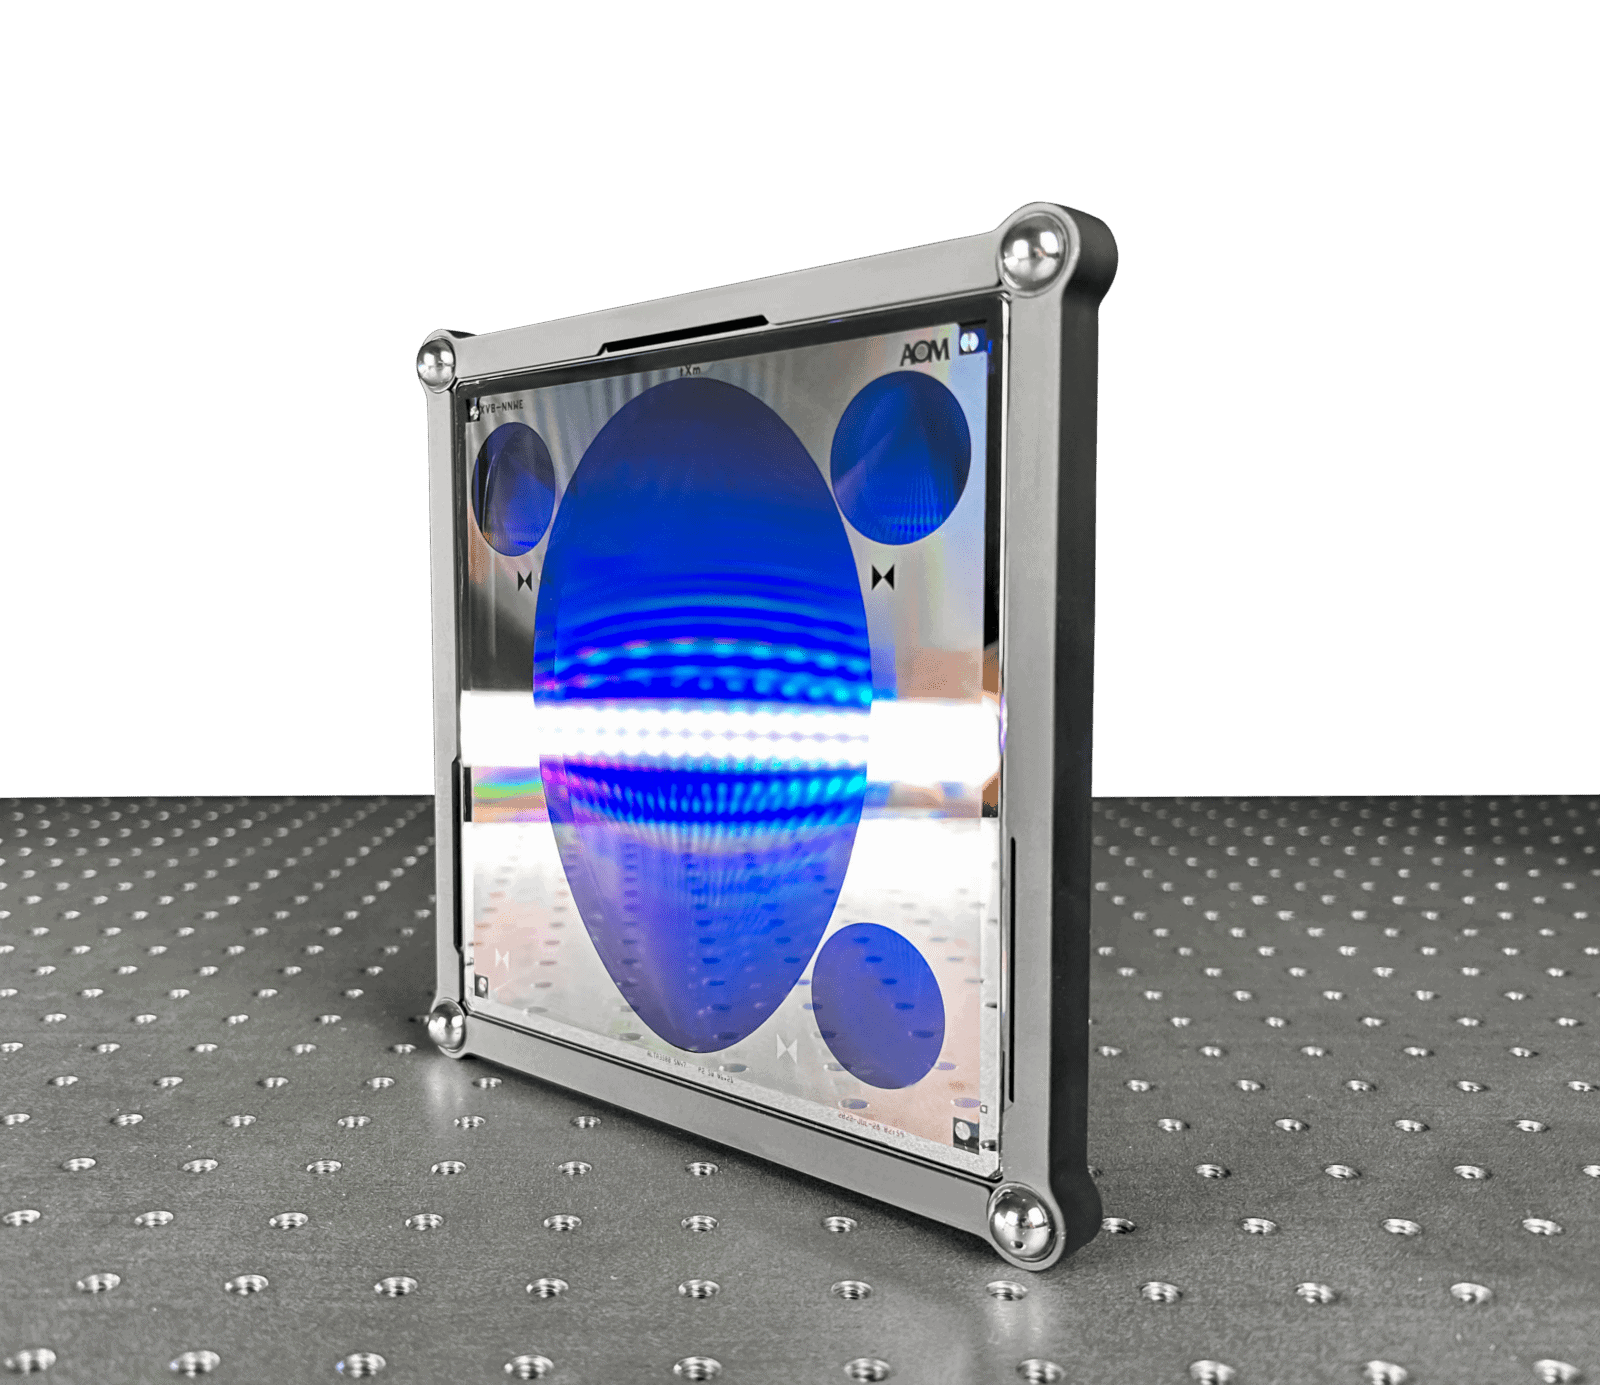
CGH Null
The Core of a Metrology System – a precision optical reference for complex optical surfaces and subsystems.
What It Does: Converts an interferometer wavefront to a customized wavefront to match the surface or system to be tested.
Where It Shines: Experienced users where time and analysis are available to set up a test.
Consider More: If ease of use is needed for less experienced users or if precision alignment to mechanical datums is required.

CGH With Alignment
Basic Metrology System enabling positive-feedback test alignment and ease of use with customer-defined test optic mount.
What It Does: Alignment patterns on the CGH provide optical fiducials co-aligned to the null pattern, enabling precision test optic alignment.
Where It Shines: Ease of setup for higher volume production, alignment feedback of optical surface to mechanical datums.
Consider More: If metrology test setup design and fabrication are not a strength of your team.

CGH With Metrology Platform (MP)
Enhanced Metrology System enabling positive feedback of test alignment and ease of use with AOM designed and built Metrology Platform.
What It Does: Mounts test optic by its mechanical datums and provides alignment feedback of test optic to CGH with optical targets on MP.
Where It Shines: Ease of setup for higher volume production, alignment feedback of optical surface to mechanical datums.
Consider More: If a complete turnkey system including interferometer integration and uncertainty analysis is needed.

Complete Test Set
Turnkey test setup enabling pre-aligned interferometer, CGH, and test reference for ease of use with complex optics or high-volume production optics.
What It Does: Provides complete metrology for purpose-built tests of high value or high volume optics.
Where It Shines: Fabrication or production environments where setup or alignment must be efficient and precise.

Software and Accessories
Enhance your test setup with:
- Morpheus™ CGH Metrology Software for quick and easy data morphing and calibration.
- Alignment targets for custom-built metrology systems.
- Mounts and blanks for custom part holders and easy interface to standard stages.
- Metrology engineering support for consultation of test setups or uncertainty analysis.

Metrology Systems in Action
A host of Metrology Systems examples are summarized below showing the kinds of surfaces that can be measured. The examples highlight just a few of the test surfaces that are possible; contact your AOM representative to discuss the options available for your optical metrology fabrication challenge.
CGH with Alignment Patterns
Level 2
A collaborative development of a test setup including a custom 6-inch CGH with a null pattern designed by AOM and alignment strategy designed by the customer.
The null pattern creates the desired wavefront to measure a 1.6 m off-axis parabola (OAP) primary telescope mirror with a 1.1 m off-axis distance. Alignment of the test optic to the CGH is critical and 6 degree-of-freedom alignment is required. The customer defined an alignment strategy that would interface to fixturing in their test setup, and AOM designed the CGH to include alignment patterns to exacting specifications.
Freeform Metrology System
Level 3
A metrology test setup was developed for a freeform mirror – one surface of a 3-mirror anastigmat. The test (CGH + Metrology Platform) was designed and fabricated by AOM to provide feedback for alignment and ease of use for multiple unit measurements. It includes:
- Alignment strategy to control 6 degrees of freedom alignment
- 3-inch CGH with null for testing the optical surface
- Required alignment patterns in the CGH that create optical fiducials supporting the alignment strategy
- Metrology Platform for mounting the part and holding optical alignment targets
- Standard mounting and alignment stages
7-Inch Diameter Convex Asphere Metrology System
Level 3
A metrology test setup was developed for a 7-inch convex SPDT mirror using a 9-inch CGH and holographic diverger to expand the beam from a 4-inch interferometer to a 9″ test diameter. The complete test was designed and fabricated by AOM to enable full coverage of the aperture and snapshot feedback of the entire surface. The test includes:
- Alignment strategy to control 5 degree-of-freedom alignment of the test optic to the CGH
- 9-inch CGH with null for testing the optical surface
- Required alignment patterns in the CGH that create optical fiducials supporting the alignment strategy
- Metrology Platform for mounting the part and holding optical alignment targets
- Holographic diverging element that expands 4″ beam to >9″ test diameter
- Standard mounting and alignment stages
1 m Diameter Primary Mirror Metrology System
Level 4
Fabricating mirrors one meter or larger requires significant consideration for metrology. AOM developed a complete test set for a customer that required turnkey metrology and measurement calibration, including uncertainty analysis. The test included:
- 6-inch phase CGH for null test of 1 m aspheric primary mirror, including alignment patterns for CGH to mirror alignment
- Custom staging for remote operation and alignment of the CGH and calibration artifact for interferometer
- Precision vertex surrogate for axial and lateral alignment of the mirror to CGH using feedback from CGH alignment patterns
- Test processes for using the hardware
- Test uncertainty analysis
Off-Axis Parabola (OAP) Metrology System
Level 3
A metrology test setup was developed for a 4-inch aperture off-axis parabola (OAP). The test (CGH + Metrology Platform) was designed and fabricated by AOM to provide feedback for alignment and ease of use for multiple unit measurements. It includes:
- Alignment strategy to control 6 degrees of freedom alignment
- 3-inch CGH with null for testing the optical surface
- Required alignment patterns in the CGH that create optical fiducials supporting the alignment strategy
- Metrology Platform for mounting the part and holding optical alignment targets
- Standard mounting and alignment stages
Direct-Mount Optical Metrology
Level 4
Enable quick and easy measurements of aspheric optics with a direct-mount CGH and upward-looking fold CGH stage.
Leverage gravity to mount optics to uniquely designed mounting features on the CGH that automatically align the test. Pick-and-place test optics to streamline metrology in production environments. Benefits include:
- Flexibility to convert horizontal interferometer to
vertical, on-demand - Leverage gravity for pick-and-place optic mounting and alignment to CGH
- Reduce or eliminate test alignment DOFs for ease of use in production
- Accepts AOM standard 6-inch mechanical cell (C6)
- Integrated CGH tip/tilt alignment and CGH carrier tilt
- 4-inch and 6-inch interferometer apertures accommodated


Applications Ideally Suited for CGHs
Fast, precise, and affordable solutions tailored to suit your production requirements.
VOLUME PRODUCTION OF COMPLEX OPTICS
Metrology solutions for fast and repeatable measurements of complex optics and systems with ease of use and reliability for production environments.
-
- AR / VR / MR headset optics
- Space telescope constellation mirrors and systems
- Heads-up display optics
- Defense imaging/surveillance/reconnaissance systems
- Commericial and consumer camera optics
HIGH-VALUE ONE-OFF OPTICS
Low-volume, high-value optics that must be right the first time, every time.
-
- Ground and space-based multi-meter-class telescope mirrors
- X-ray beamline mirrors
- High-energy laser systems
- Big Science research instruments